Login and Partner Registration
For the purpose, we have created the following:
- Organization - Demo Org
- Catalog - Demo Catalog
- Plan - Demo Access
- User - demouser@test.com
At this time, demouser@test.com would have received the onboarding email as explained in the previous section.
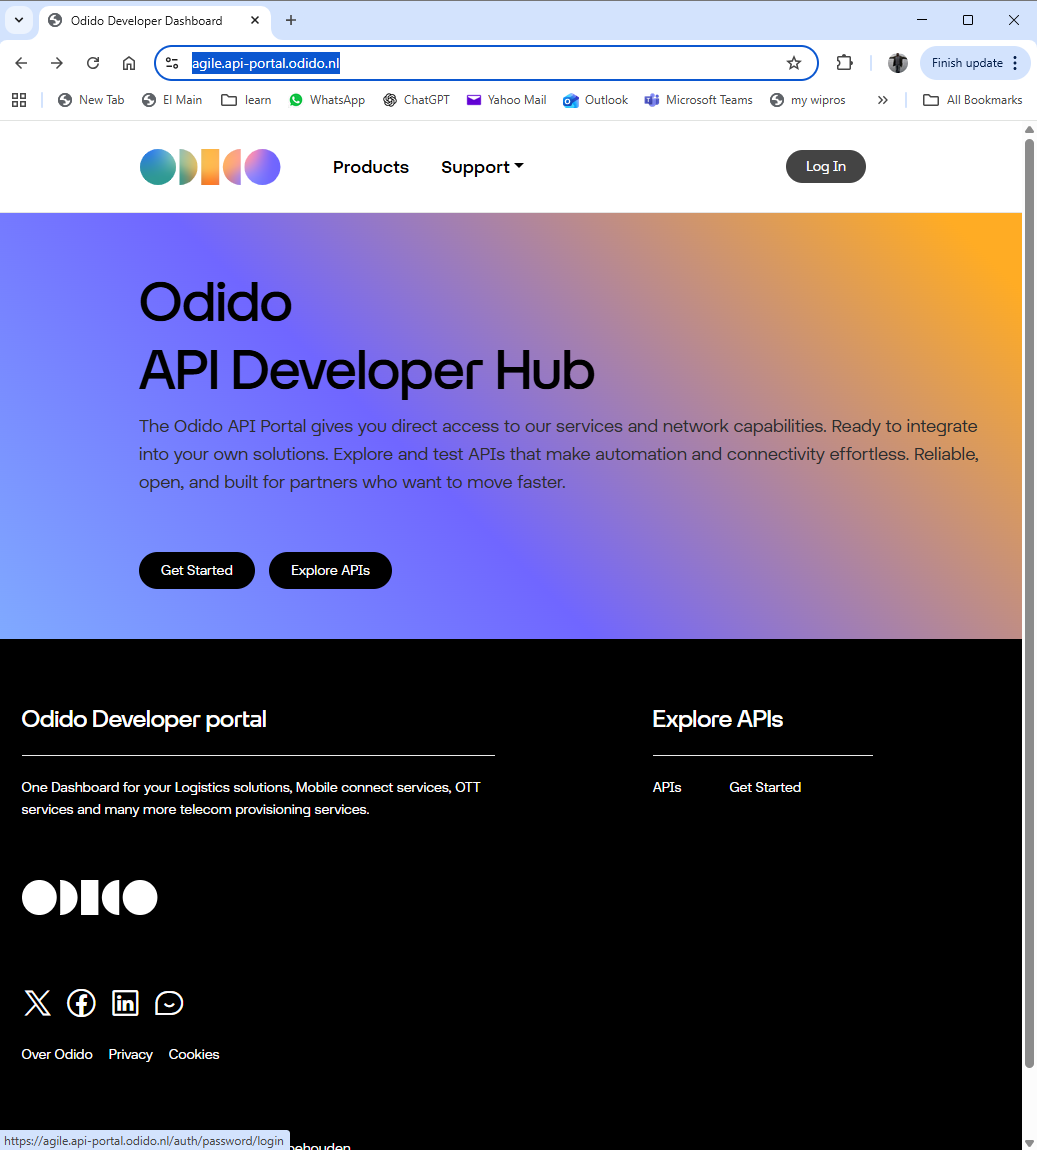
Step 1 — Click “Login”
On the top-right corner, click Login.
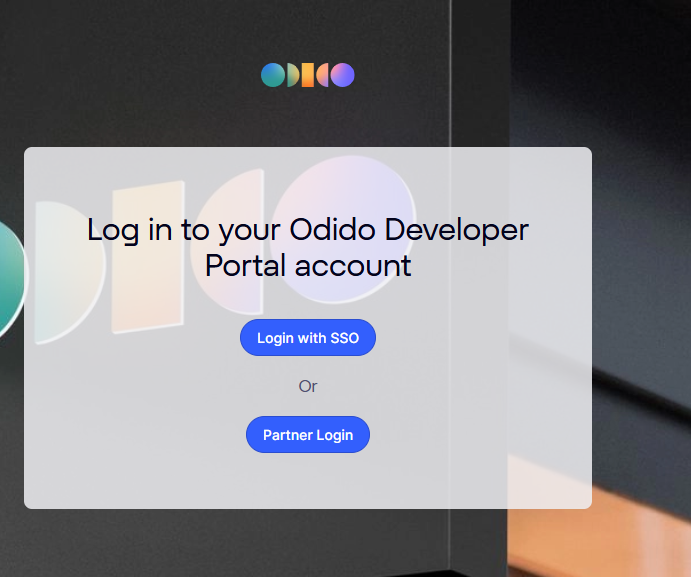
Step 2 — Select “Partner Login”
From the login options, choose:
👉 Partner Login
Step 3 — Click “New user? Register”
Select:
New user? Register</>
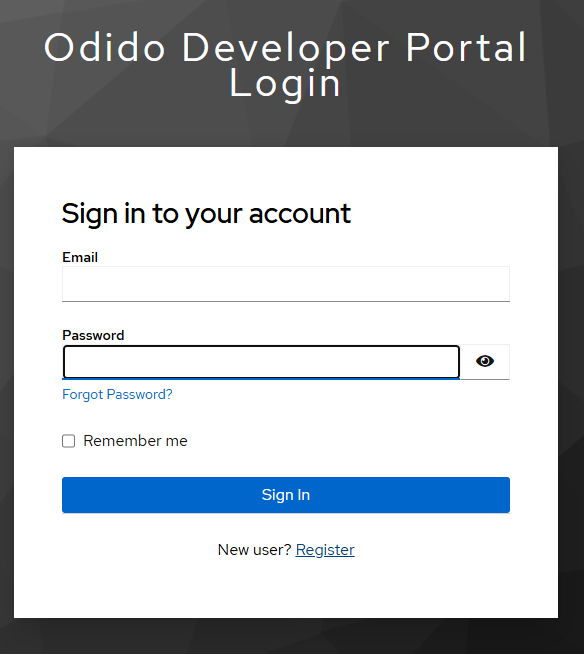
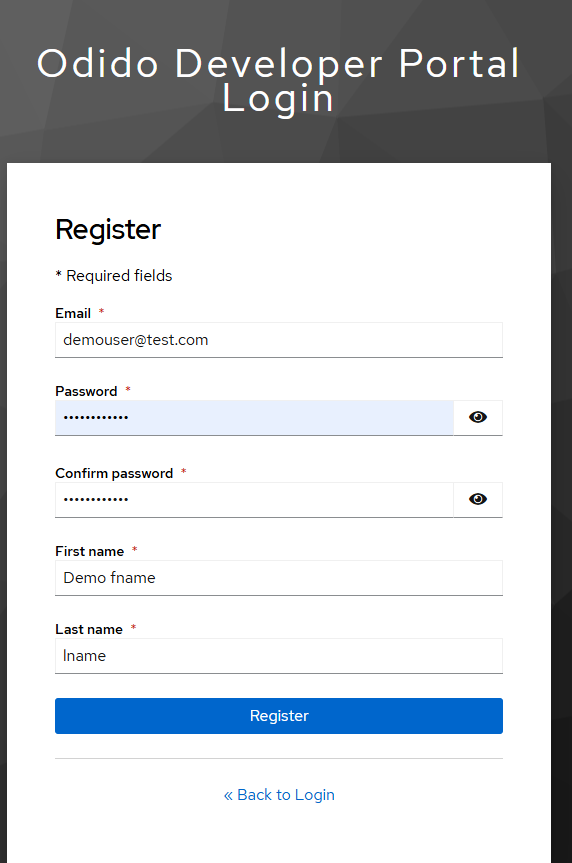
Step 4 — Fill the Registration Form
Enter your user details.
Important: Use the same email address shared with ODIDO during partner onboarding. For this demo we use demouser@test.com
Password Requirements
Your password must include:
- At least 1 uppercase letter
- At least 1 special character (e.g., @)
- Minimum 12 characters
- Maximum 32 characters
- At least 1 number
Step 5 — Complete MFA Setup
- After clicking Register, you will be prompted to set up an authenticator.
- Use any standard MFA app such as:
- Microsoft Authenticator
- Google Authenticator
- FreeOTP
- Scan the displayed QR code.
- Enter the one-time authentication code from your app.
- Provide any device name.
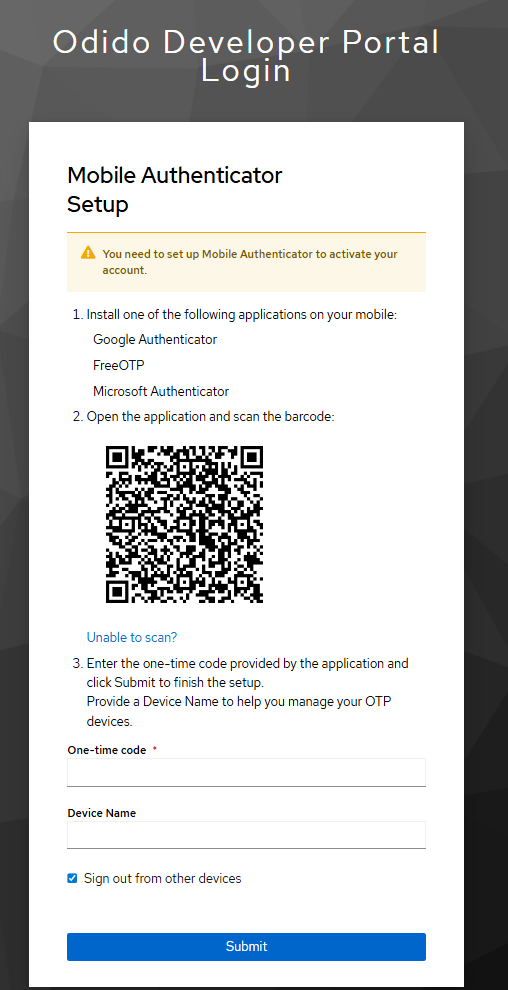
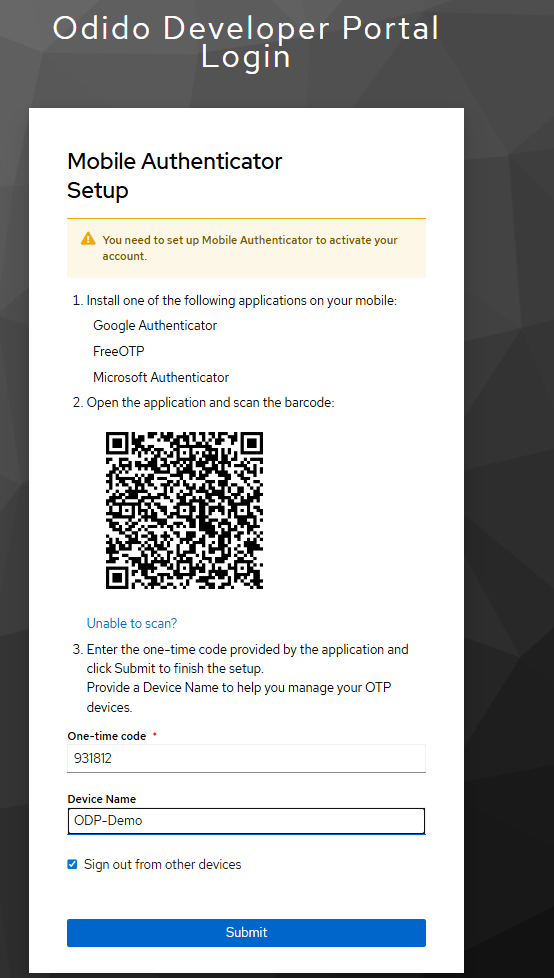
After completion, you will be automatically logged into the portal.
Navigating the Portal
After successful login, you will reach the Home Page.
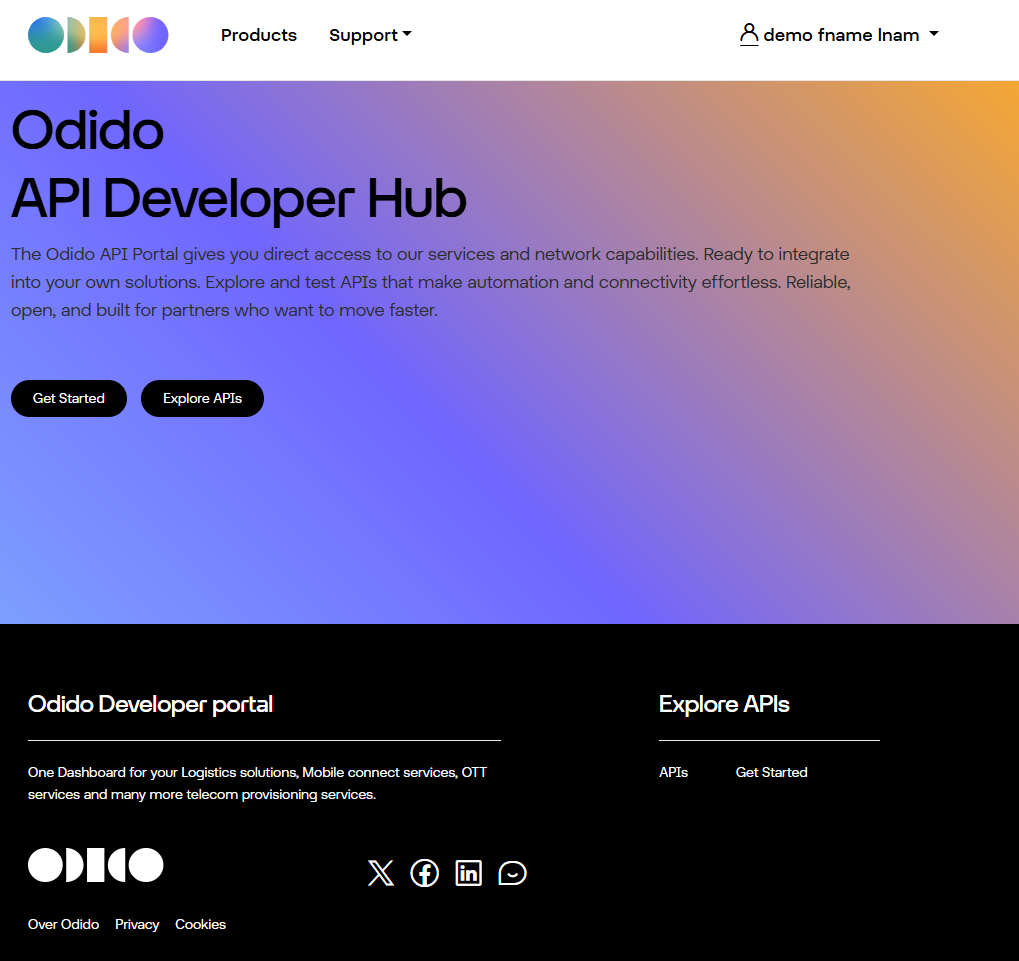
Browsing Available API Products
Step 1 — Click “Explore APIs”
On the homepage, click Explore APIs to browse the available API catalog.
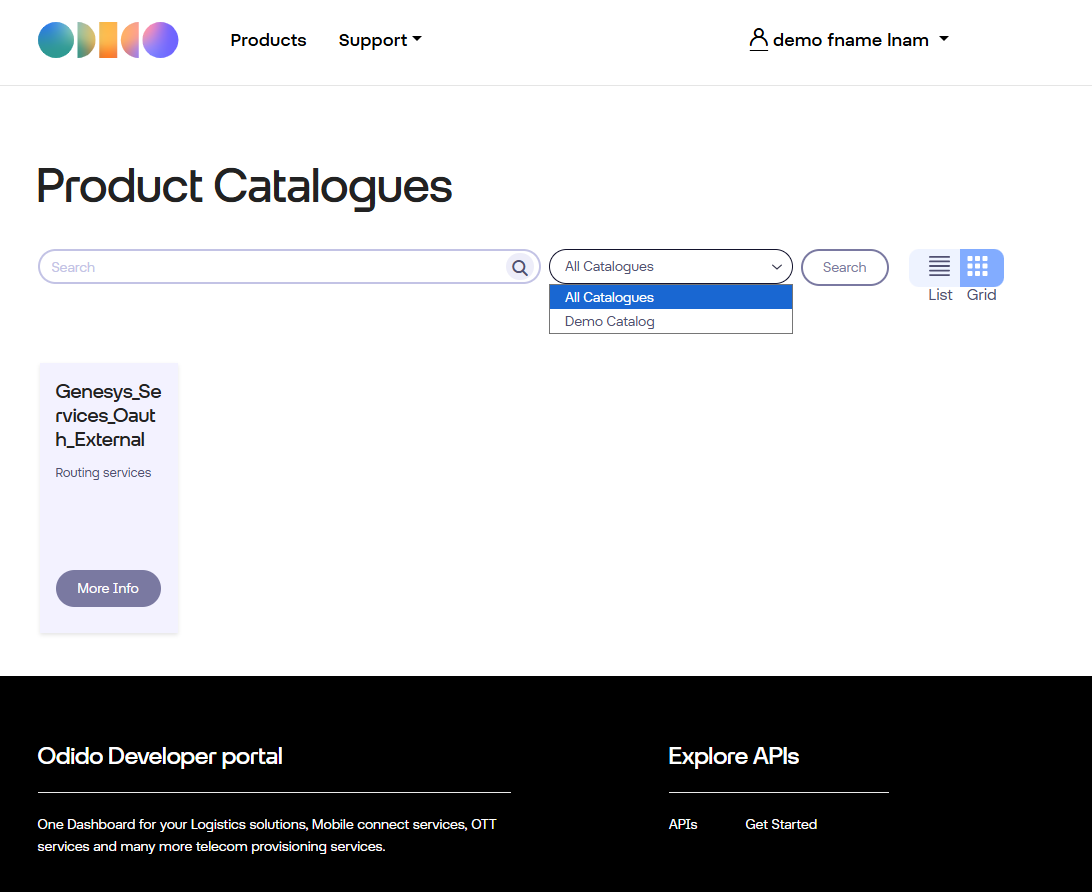
Step 2 — View API Product Details
For example, click More Info on:
👉 Genesys_Services_Oauth_External
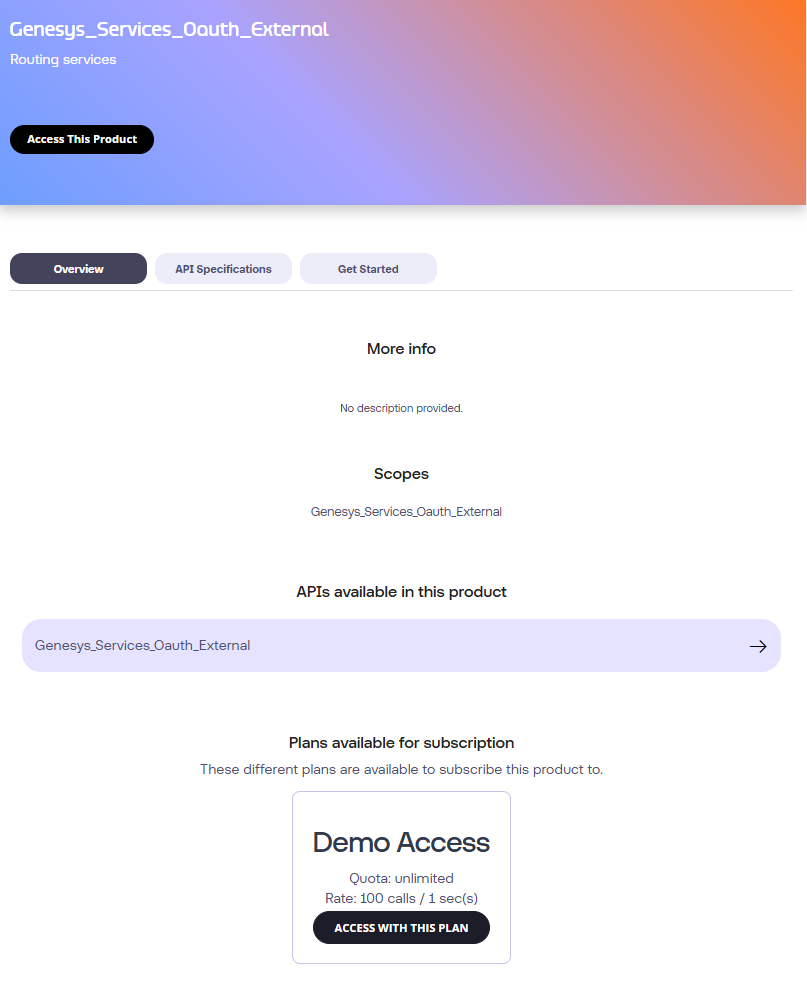
This displays product description, OAS link and available subscription plans.
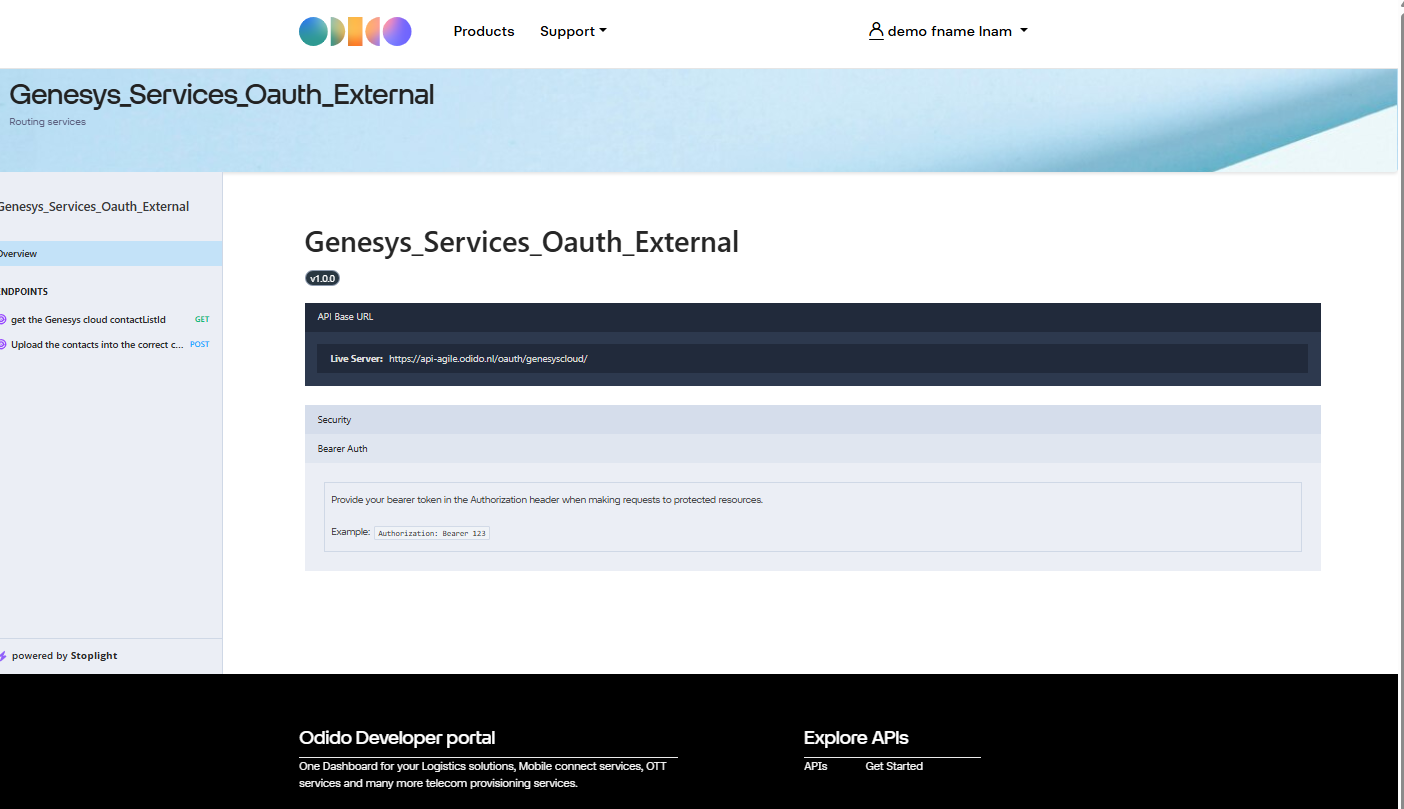
Click on the -> next to the API name to view the OAS documentation
Subscribing to an API Plan
Step 1 — Click “Access with this plan”
Select the plan associated with the product. This adds the API Product to your Cart.
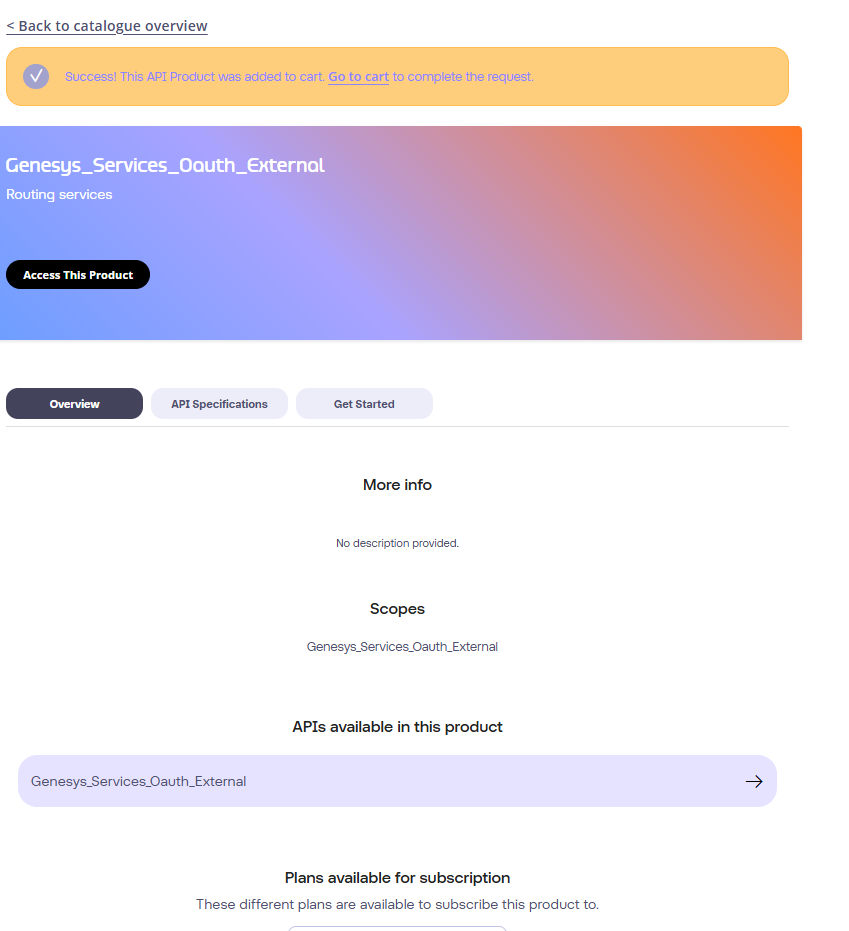
Step 2 — Proceed to Cart
Click Go to Cart.
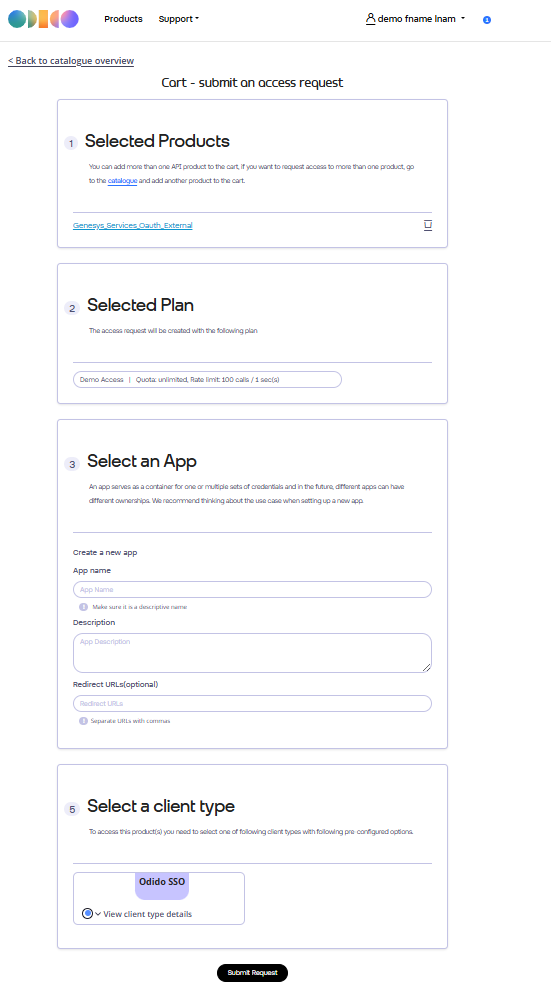
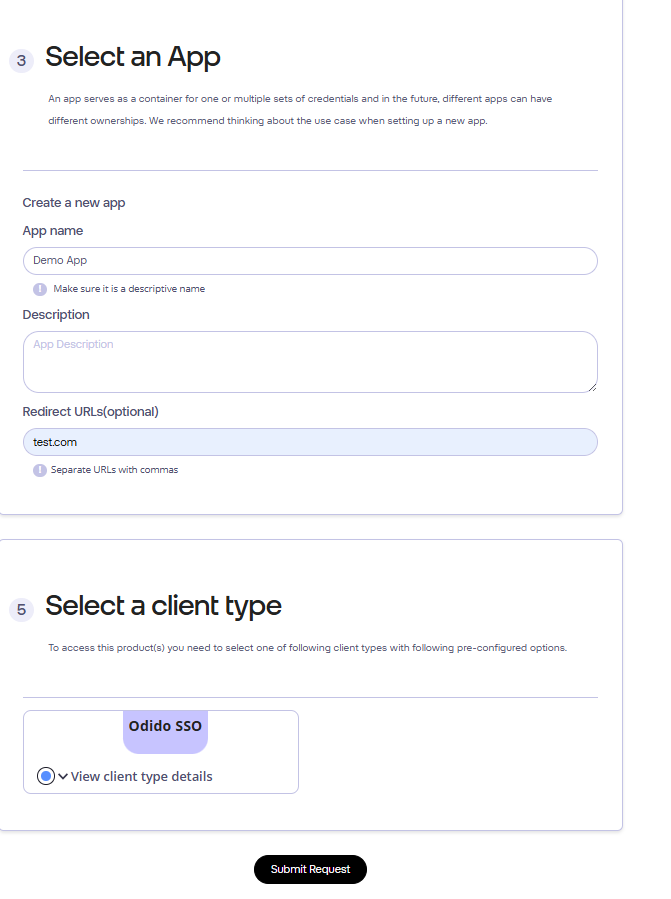
Step 3 — Create a New Application
In the Select an App section:
- Choose Create a new App or ch
- Provide:
- App Name
- Description
- Redirect URL (any value is acceptable but must not be empty)
- Submit your request.
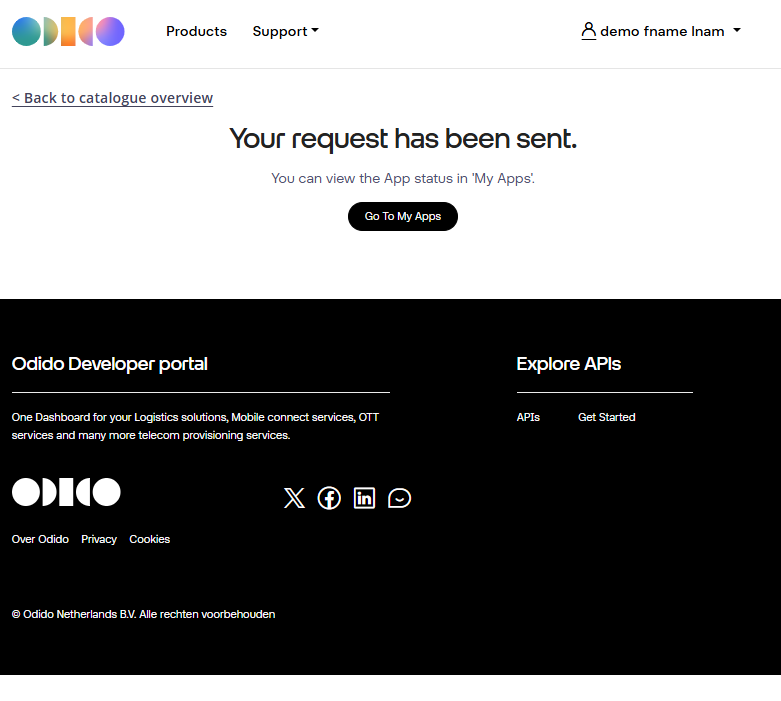
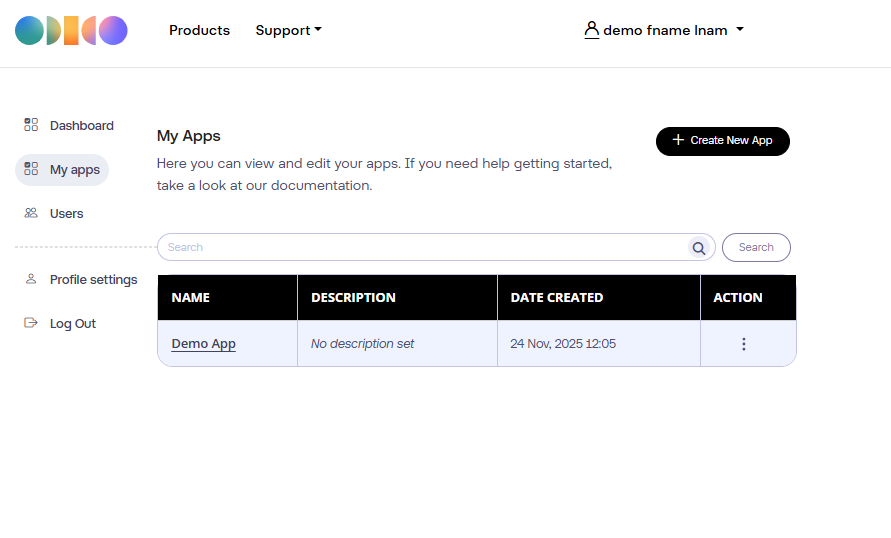
Viewing Your Application and Credentials
Step 1 — Go to “My Apps”
Click:
👉 Go to My Apps
Your newly created application will appear in the list.
Step 2 — Open the App Details
Click the application name to view:
- Client ID
- Client Secret
- Assigned API Products
These credentials will be used for OAuth authentication.
Obtaining an OAuth Token
Use the retrieved credentials to request a token.
Token Request Example (Client Credentials Flow)
            curl --location 'https://connect-agile.odido.nl/realms/tyk-dev-portal/protocol/openid-connect/token' \
            --header 'Content-Type: application/x-www-form-urlencoded' \
            --data-urlencode 'client_id=xxxxxxx' \
            --data-urlencode 'client_secret=xxxxxxxxxx' \
            --data-urlencode 'scope=Genesys_Services_Oauth_External demoplan' \
            --data-urlencode 'grant_type=client_credentials'
This returns a JSON payload containing:
- access_token
- expires_in
- token_type
Calling the Actual API
With the obtained token, call the target API:
API Call Example
        curl --location 'https://api-agile.odido.nl/oauth/genesyscloud/api/v2/outbound/contactlists' \
        --header 'x-auth-token: Bearer xxxxxxx'
Replace:
- xxxxx with your access token
- Client credentials with your generated values
Support
If you have any questions or encounter issues, feel free to reach out to your assigned ODIDO point of contact.
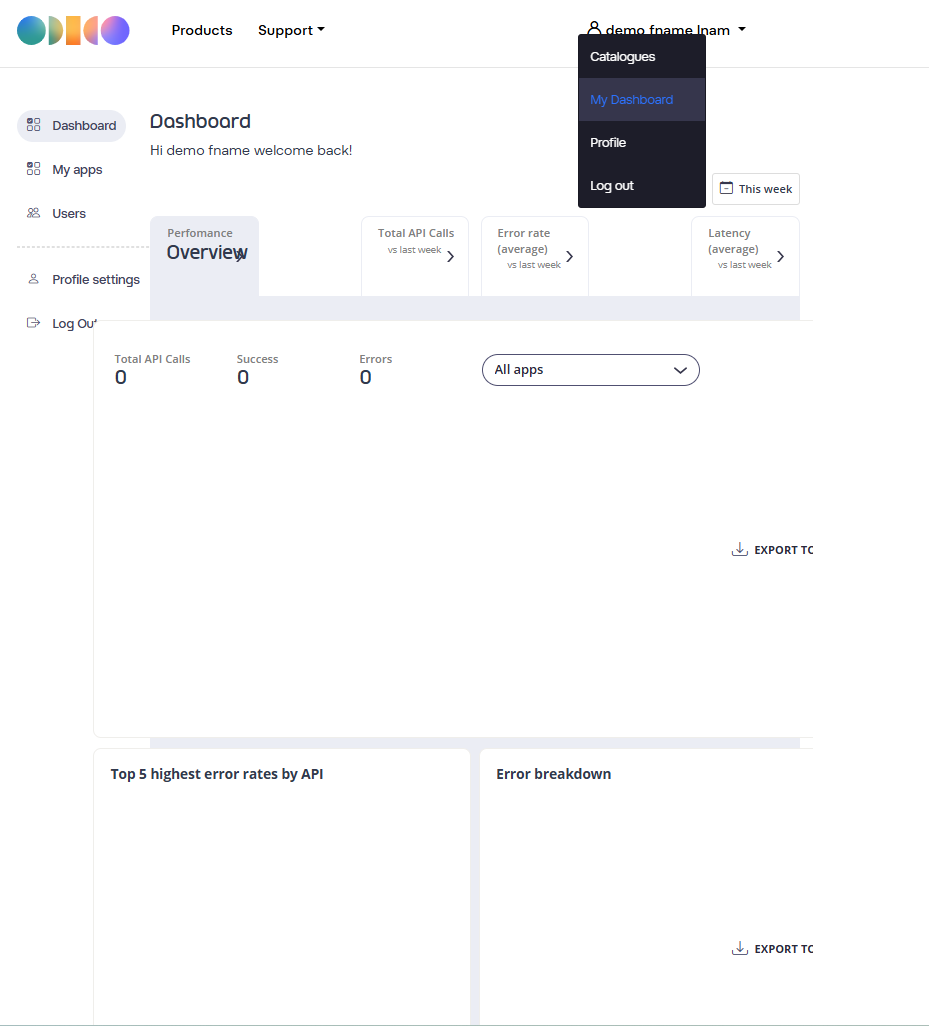
Viewing analytics for usage, errors, and performance
Access the API usage dashboard from My Dashboard link as shown below
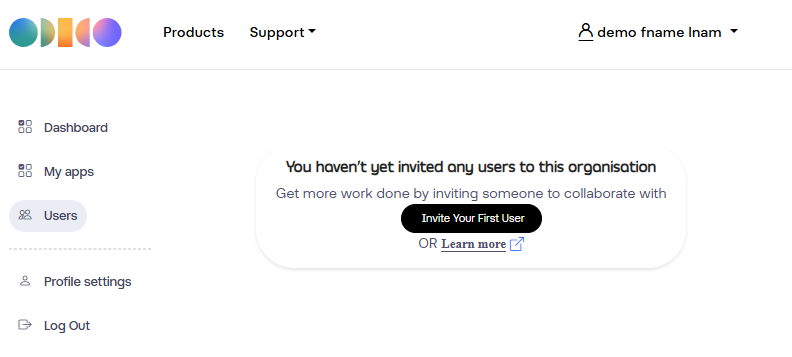
Invite more organization users
Access the Users - from My Dashboard link as shown below
Click on the Invite Your First user, fill in the form, assign the right role for the User. An invite email will be sent to the user and he follows the same registration process as described in the earlier session.